Showing posts with label quick. Show all posts

Club Baked: Speculaas

I must be the only person on the planet that hasn't heard of these little cookies, similar to the Biscoff cookies handed out on the airlines. So, I really didn't know what to expect, other than a very spicy cookie...that I could gather from the ingredients - cloves, ginger, nutmeg and cinnamon in quantity.

What I didn't know was that they would be terrible -

- terribly easy, that is.

I almost didn't think that after a quick pulse in the food processor and a minute of hand mixing that my batter* was done. After a pop in the fridge, a roll with the rolling pin and a quick (15 minutes!) bake in the oven, the cookies were out, smelling delicious and ready to eat.


And, in addition to the ease of preparation (and ease of cleanup - I think I used two dishes!), they are quite good. These cookies are dry and crispy. I normally am not fond of dry cookies, preferring them ooey and gooey and with chocolate chips. But these weren't dry in a bad way, more like a perfect compliment to a cup of coffee or tea, or in my case, a chai latte. (I will say that I did love them right out of the oven, still warm and a bit soft)

I do think that their spicy flavor makes them the perfect fall cookie, or holiday cookie for that matter. I know I will enjoy the break this cookie provides next year during the stressful, over the top holidays. It's so simple, but delicious. Can't ask for much more...

Club Baked ended up co-hosting this recipe with Baked Sunday Mornings, a group that also is baking it's way through these delicious desserts, so you'll find the recipe over there this week. To see all the bakers links, check out the Club Baked site.

*I ended up using lemon zest in place of the orange zest since I had no oranges on hand. I found it hard to taste with all the spice, so I'm not going to say if it affected the flavor, although I can see how orange would be the preferred compliment to those spices.

**pictures coming soon...

Reaping the Benefits...

...of a husband who loves to plant things. Seriously, he has the *Midas Touch* in gardening. Don't believe me? Just check this out:


Nick came in from our balcony and said bluntly - "We need to eat chard, like today," and passed me a big, lush bouquet of chard.


I love chard. It's one of those veggies that is really so versatile. Sauteed with a little garlic and onion and you have a simple side dish that compliments almost any meal. It's an easy substitute for spinach in dishes like pastas and ravioli fillings. I've also used thin, wilted strips of chard in quiches and the like.

I felt like something a little different, so I consulted my How to Cook Everything cookbook by Bittman. He had a simple, but flavorful recipe for chard with olives, shallots and feta. It was simply scrumptious. It was relatively easy to prepare. I made it while our pasta was cooking and the clam sauce was simmering on the stove.


Nick mentioned that this would also work well as a stuffed mushroom filling, mixed with a little bread crumb, for a quick appetizer. The saltiness from the olives and feta would be nice with the earthiness of mushrooms.

Snack Break: Salmon and Cream Cheese Crackers

I'm pretty sure that it's quite obvious that I am an avid snacker. When I had a desk job, I'm pretty sure that if you stopped by my cubicle, chances are I would be munching on something. And while I certainly love a cookie now and then, regular snacking usually consists of more savory foods. Sliced apples being a particular favorite.


My favorite thing about snacking is the relative ease in preparation. This "recipe" is no different. Crackers spread with cream cheese, topped with just a bit of salmon. Add a sliced apple and you've got yourself a light lunch.

For an easy alternative, if salmon leftovers never occur at your house, try adding smoked salmon in place of the leftover salmon.

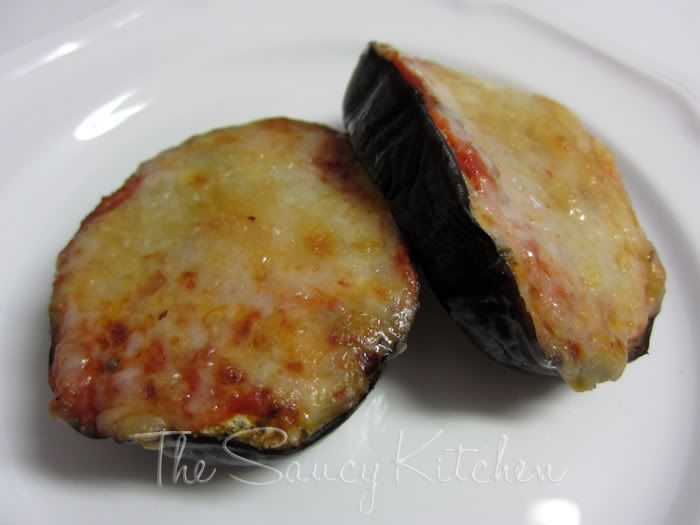
Quick Fixin: Eggplant Pizzas

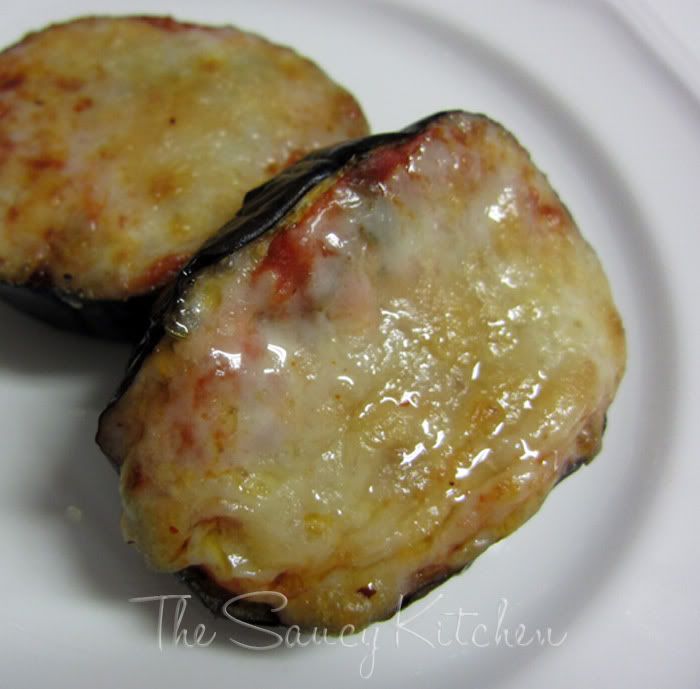
This meal is so utterly painless you'll wonder afterwards if you really cooked dinner. But the flavor will ensure your taste buds and your appetite that yes, you have.

The active cooking time for this dish is hmm...5 minutes? Ok, maybe 10 - if you use freshly grated cheese. It's just the type of dish that I've been looking for though, since the weather has started to warm. It's light, but flavorful. Served with a side salad (with fresh from the garden arugula) and some bread for dipping and you have the makings of a lovely meal.


Eggplant Pizzas
adapted from Julia's Kitchen Wisdom

Ingredients:
1 (or two) eggplant
salt
pizza seasoning
your favorite jar of tomato sauce
your favorite pizza cheese, grated  (I used a combination of Rustico Red Pepper and Cacia de Roma)

Preheat your oven to 400 F.

Cut the eggplant into 1/2" thick rounds and sprinkle lightly with salt. Lay on towels so that the towels will absorb the moisture the eggplants "sweat" out. Let them rest and sweat their moisture for 20-30 minutes.

After the 20-30 minutes, pat the eggplants dry and place them on an oiled baking sheet. Brush the tops with olive oil and sprinkle on your herbs. Cover the baking sheet with foil and bake for 20 minutes, or until tender.

Remove the rounds from the oven, top with a spoonful or two of tomato sauce and sprinkle on some cheese. Broil the rounds until the cheese has browned. Plate and serve.

Arepas!

Arepas!


It even is fun to say! Anyways, I was introduced to this great breakfast idea by Nick's old roommate. He and his family are originally from Venezuela and this was a common breakfast for them. I think of it as a South American English muffin sandwich. They were cool enough to have an arepa maker (like a waffle maker, but for arepas). We used our hands.

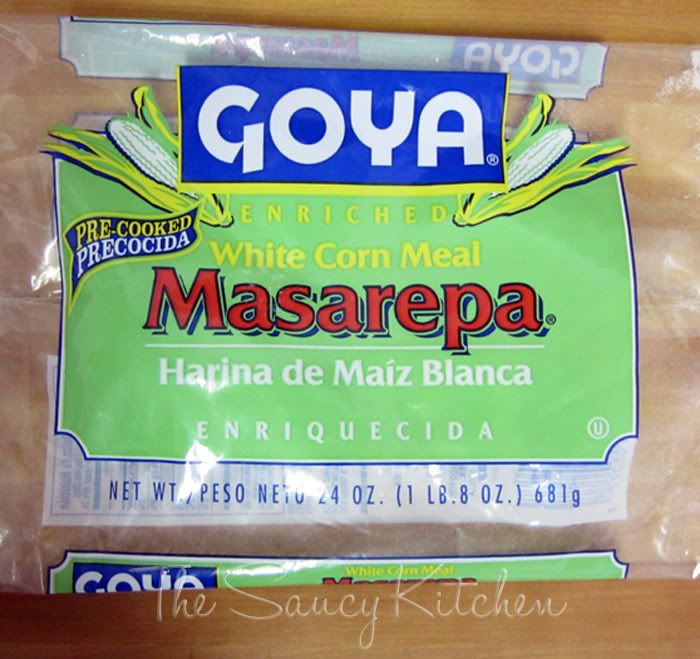
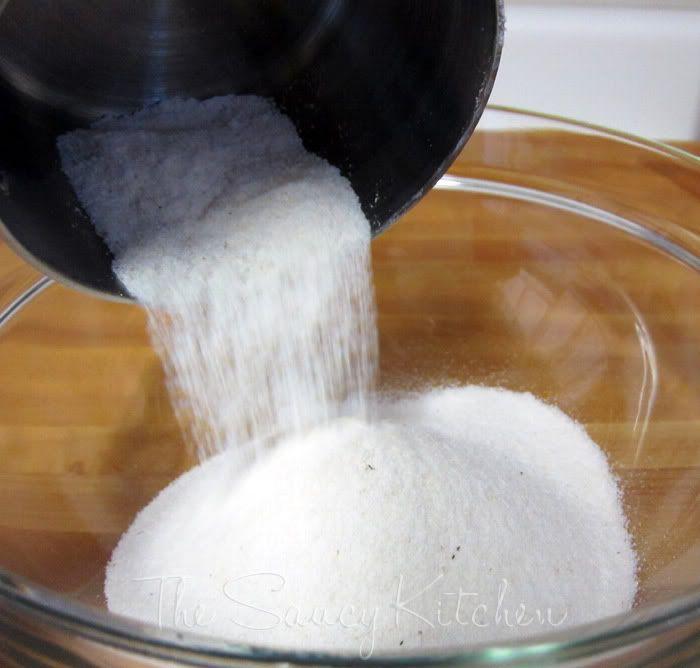
The hardest part is actually finding the flour. It's a white corn meal. Here's the stuff we found in our grocery store to give you an idea of what to look for if you want to try these.


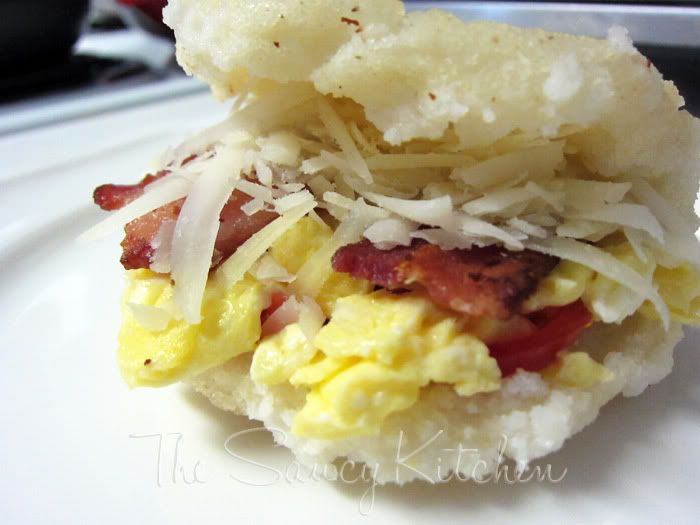
They are so yummy and can be modified to include whatever fillings you have on hand, bacon and eggs, ham and cheese, avocado, tomato, etc.

Arepas

Ingredients:
2 c. Masarepa
1 tsp. salt
3 c. warm water
olive oil
fillings of your choice

Preheat an oven to 350 F. 


In a mixing bowl, combine the flour, water and salt together with your hands until it is combined. Let it stand for 5 minutes.

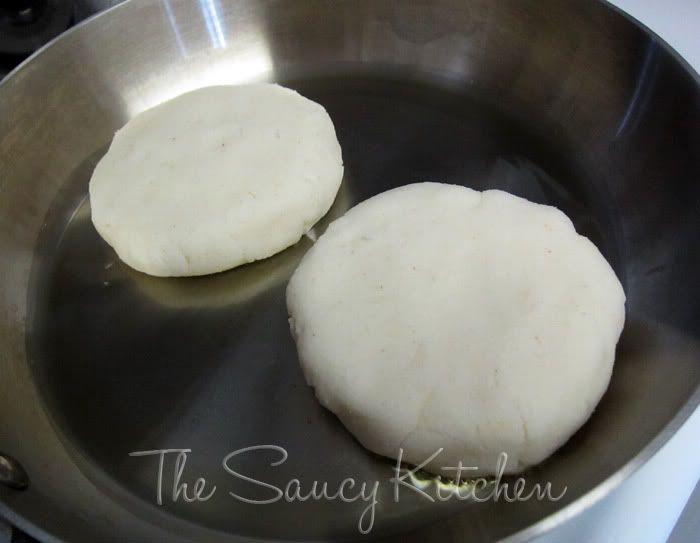
Shape the dough into patties about 4 inches wide and 1/2 inch thick.


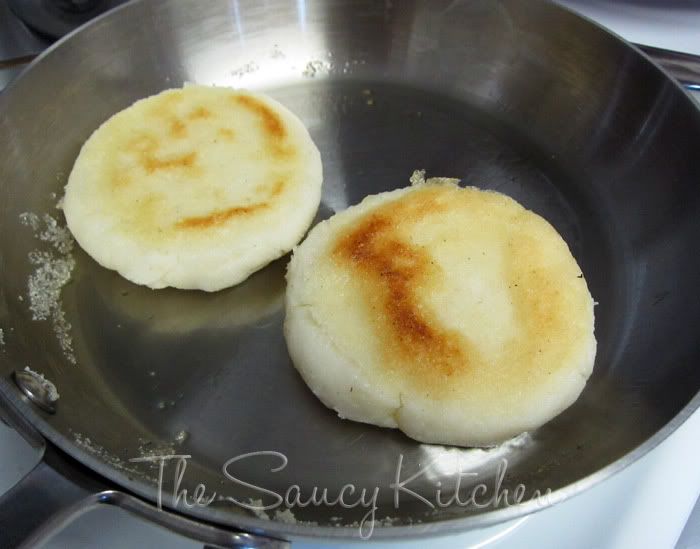
In a lightly oiled skillet over medium heat, place the formed patties onto the pan. Don't try and move them once they are on the skillet. Allow them to brown on one side and then, when they are brown and no longer sticking to the bottom of the pan, flip them to brown the other side.

Place the arepas on a baking sheet and into the oven for about 20 minutes (or until they sound hollow).


Slice the arepas about halfway through and take out some of the dough if you want (it gives more space for filling). Add in your fillings, really pushing them in so it fills the whole inside of the arepas. Enjoy!

Kitchen Lifesaver: Easy Morning Smoothies

Nick loves smoothies in the morning. And I love getting some fruits into the meat eater. To make mornings go smoother (haha, get it?), I have a system to get this breakfast beverage made in a jiffy.


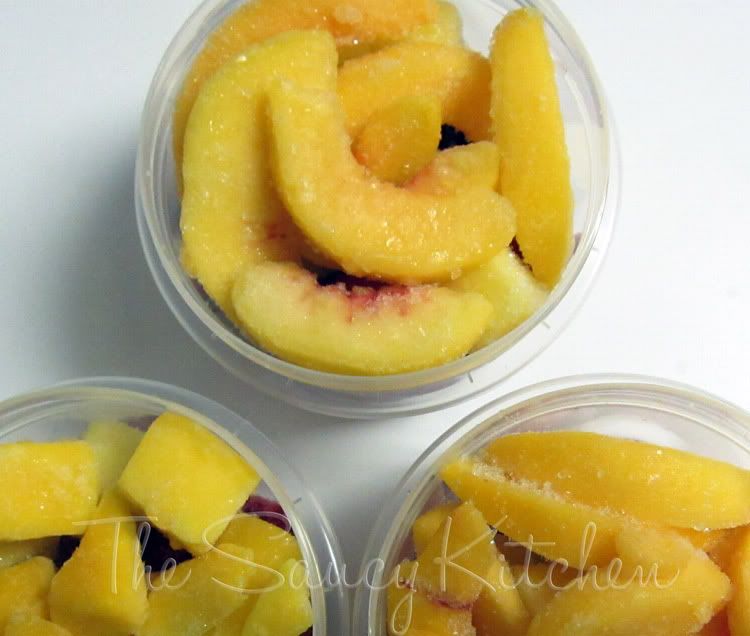
First, I start with store bought frozen fruits. Whatever you like or is on sale at that particular time. Pineapples, mangoes, peaches, strawberries, blueberries, raspberries and cherries - anything goes. Instead of storing each bag in the freezer separately (taking up a lot of awkward freezer real estate), I make easy two cup mixes on the weekend. It's the perfect serving size for two smoothies and allows you to mix and match the fruits so that your smoothie can be a different flavor each day of the week. It also allows for faster assembly in the am. I keep our fruit cups nested on the door so it's an easy grab when I need one.


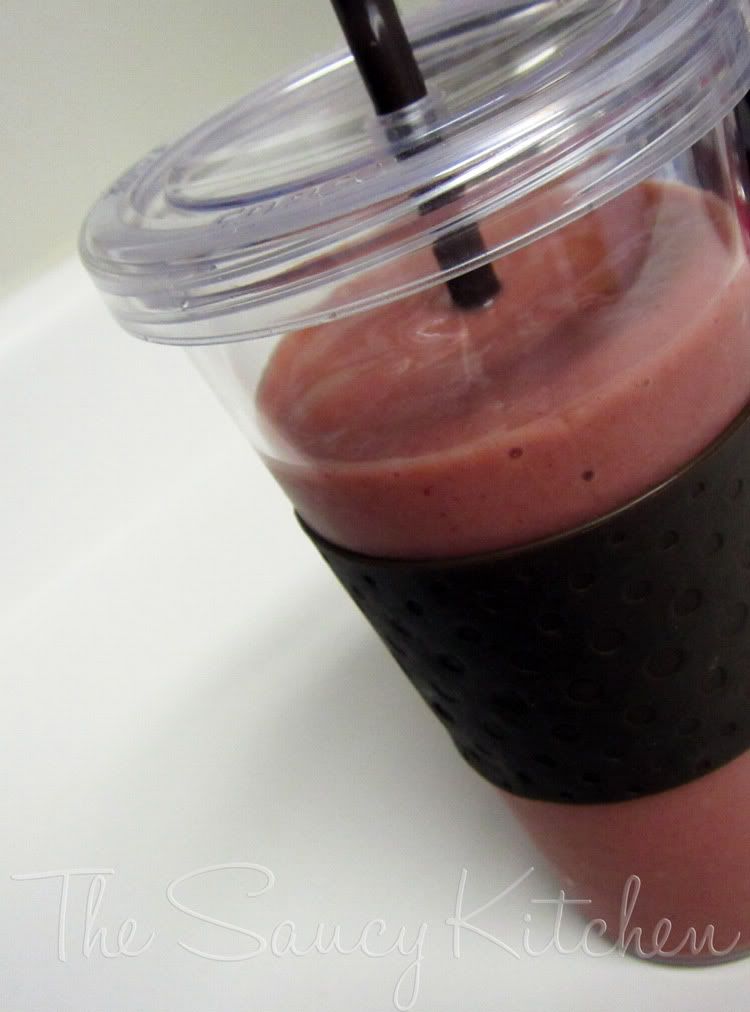
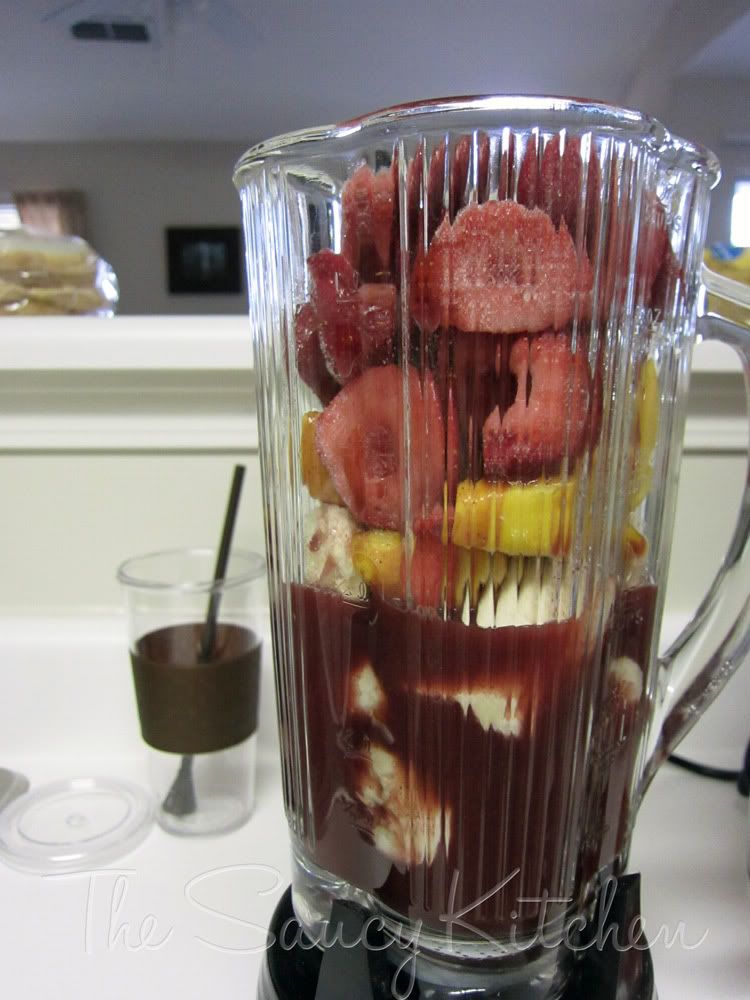
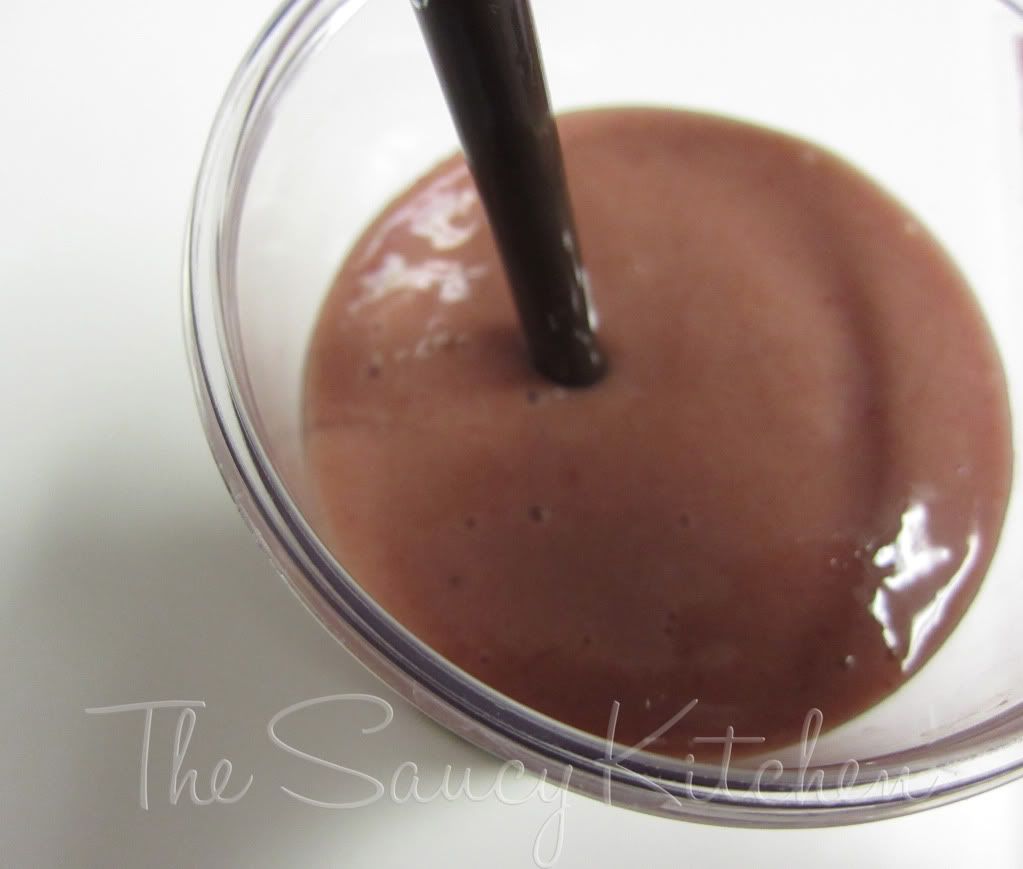
I start by throwing two bananas (peeled) into a blender. I then throw the frozen fruit from the serving cup on the top of the banana. I top this with Acai juice until it is about half way up the side of the blender, or just about covering the bananas. Put the lid on and blend on low for about 30 seconds and then bumping up to high until everything is smooth.


Pour into glasses or travel cups (we picked these up at BBB) and you're all set for a quick and easy breakfast.


Stuffed Artichokes

I made this up for dinner when Nick was feeling under the weather. I needed something quick and easy and full of pantry staples because a trip to the store was not happening. It was a great light meal in and of itself, or could be served as a side or appetizer.


Stuffed Artichoke

Ingredients:
2 artichokes
2 bay leaves
salt
1/3 c. yellow onion, diced
2 tbsp butter
2 garlic cloves, minced
pepper
pinch oregano
2/3 c. diced tomato, canned
1 tbsp butter
1 tbsp olive oil
1/2 c Pecorino Romano
1 1/2 c. bread crumbs
2 tbsp chopped fresh parsley


Preheat your oven to 400 F. Bring water to a boil in a large pot. Add two bay leaves and some salt to season the water. Add in prepped artichokes* and prepped stems** (optional). Continue to boil lightly with the lid on until you can stick a fork through the base (about 25 minutes).


While the chokes are boiling, prepare the stuffing. Start by heating the butter in a saute pan over medium heat. Add the onions and cook until they are just soft and transparent, about 5 minutes. Add the garlic and saute for about 1 minute. At this point, check to see if the stems are cooked through. If they are, remove them from the water and dice (be careful they are hot - I held mine with tongs while I sliced), then add to the onion mixture. (If they need a few minutes, add them in after the tomato). Add the tomato and stir, continue to cook until the mixture reduces. Add pepper and dried oregano to taste. Once reduced to the desired consistency, reduce the heat to low.


In another pan, melt the butter and olive oil together and heat over medium low heat. Toss in the bread crumbs and toast.


Once toasted, remove from the heat and toss in the cheese and parsley. Add the bread crumb mixture to the tomato-onion mixture and stir to combine the two.


Once the artichokes are done, remove them from the water and sit, facing down on a towel or in a colander to drain and cool. Once cool enough to touch, open up the leaves just enough to get to the center leaves. Pull out those little leaves until you can see the bottom fuzzy parts. Grab a spoon and scrape (gently!) the fuzzy part out of the center, leaving the solid, fleshy part (aka, the best part).


Once the center has been cleaned of all the fuzzies, add in the stuffing. I first add to the center portion and then fill in between each of the leaf layers. Once both have been stuffed, place the artichokes into the oven for another 10-15 minutes. This will re-heat the chokes and crisp up the outer edges of the stuffing.


Remove from the oven and serve.
* To prep the artichokes, cut the stem around the base of the plant. Also cut off the about 3/4" below the top point. I also like to trim (with kitchen shears) the pointy end of each leaf.

**I also save the stems, cutting off the very end that's usually brown and slicing off the green woody parts vertically until I reach the tender white inside of the stalk. It is only really worth it if the stems are thick.

Drunken Crab Legs

This has been our go-to recipe for crab legs for years. We've tried it with several different beers (Sam Adam's Summer Ale being my favorite). It's such an easy meal. When we made this this week, Nick asked if I wanted to do the crab legs that night. I replied that I did, because if we didn't we'd have to make something fancy (fancier = more work in my book). He chuckled.


Drunken Crab Legs

Ingredients:
3 bottles premium ale
3 lemons, cut in half
1 head garlic, split
3 lb. crab legs
drawn butter, for serving


Bring the beer, lemons and garlic (topped with a steamer insert) to a boil in a large stock pot. Toss in the crab legs until heated through (we do ours for about 15 minutes). Serve with the butter and a bottle of ale.

This recipe was originally posted on Food Network.com.

Thanksgiving ReMix - Turkey Salad with Cranberry Vinaigrette

We had leftover salad and turkey. So, turkey salad was an obvious choice. The cranberry dressing makes it wonderful of course, and is another favorite that I found during that college dinner party (on Allrecipes.com).


Ingredients:
3 tbsp red wine vinegar
1/3 c. olive oil
1/3 c. fresh cranberries (mine was heaping!)
1 tbsp dijon mustard
1/2 tsp minced garlic
1/2 tsp salt
1/2 tsp ground pepper
2 tbsp water

Blend the vinegar, cranberries, mustard, garlic, salt, pepper and water in the blender or food processor. Drizzle in the olive oil and blend to combine.Our salad consisted of turkey, red onion, avocado, tomato, sliced & toasted almonds, and cucumber. Delish. We served this with the stuffing stuffed mushrooms. :)

Cranberry Muffins

Before Thanksgiving, cranberries were a BOGO at the grocery store, so I stocked up with four bags. Love me some cranberry. I've been shoving it in everything from french toast, raviolis, vinaigrette, stuffed shells to these muffins.


I needed a quick and tasty breakfast and these fit the bill. I had printed the recipe these were based on years ago, so I'm not really sure where it came from. Over the years I've tweaked it a bit and added some things, but they are still mightily delicious. This recipe makes a baker's dozen.


Ingredients:
2 c. fresh cranberries
2 tbsp sugar
1 pinch nutmeg
1 pinch cinnamon
2 c. all purpose flour
1/3 c. sugar
2 tsp. baking powder
1/2 tsp. salt
1/2 c. cold butter
1 c. orange juice
1 egg, beaten
sugar, for dusting


Start by placing the cranberries in a food processor and chop so that they are still a bit chunky. You don't want them too fine. 1/4" pieces should be good.


Mix the 2 tablespoons of sugar with the cranberries and add the nutmeg and cinnamon. Toss to combine.


Mix the flour, sugar, baking powder and salt in a large bowl. Mash in the cold butter until crumbly.


Add the orange juice and the egg until the dough is moist.


Gently stir in the cranberry mixture and fill muffin tins.


Sprinkle the tops with sugar and place in a 400 F oven for 30 minutes.


Serve with a hot spiced apple cider. 

Thanksgiving ReMix - Stuffing Stuffed Shrooms

Stuffing Stuffed Shrooms.


Try saying that three times fast. Whew. But they are tasty. And a quick side or appetizer. You could use smaller baby bellas or common white mushrooms if you want small appetizer portions, but we used portobellos and served with a salad.

Ingredients:
2 portobello mushrooms
1/4 c. pecorino romano
1 1/2 c. leftover stuffing (my recipe follows)


Not that I need to explain, but place the stuffing in the mushrooms. I don't add any olive oil or salt and pepper since the stuffing is seasoned nicely and contains enough moisture to ensure a second baking. If yours is a bit on the dry side, just drizzle with olive oil.

Bake for 15 minutes (or until heated through) on 350 F. Top with cheese and bake for another 5 minutes.


Stuffing

I first made this in college when my roommate and I threw a dinner party for our upstairs neighbors. I really liked the flavors and so I've kept it and made it any occasion that I could have since. I first got the recipe from recipezaar, but have made a few revisions since.

Ingredients:
1 stick butter
3 c. onions, chopped
3 Granny Smith apples,cored, peeled and chopped
5 stalks celery, chopped
2 tablespoons garlic, minced
2 tbsp dried sage
1 pinch nutmeg (but you know, pinch a lot)
2 loaves french bread
4 c. chicken stock
1 tbsp fresh thyme, chopped
3 tbsp fresh sage, chopped
salt and pepper (to taste)

Melt the butter on medium heat and saute the onion, celery, apples and garlic. Once soft, add the dried sage, nutmeg and the bread cubes. Toss to mix the veggies and the bread cubes. Add the stock, fresh thyme and fresh sage. Season with the salt and pepper and spread in a 9" x 13" pan. Bake in a 350 F oven until the top is golden. It's a moist stuffing that has never dried out on me and I really like the apple flavor with the turkey - and later, mushrooms :)