Showing posts with label freezer friendly. Show all posts

Orange you glad...


The hubs and I recently went to San Diego, California. Can you believe it was my first trip ever to California? It was a fun time, with a stop at the ocean, avocado pickin', and relaxing.

This is also the technique we use for changing our air filters.

While were we there, we picked some oranges and citrus fruits of all kinds, and brought home a bounty! Now that my kitchen is full of citrus, I am slowly but surely finding some tasty recipes involving the tart, sweet little fruits. In addition to just eating them, of course, because I can assure you that you haven't really lived until you eat a perfectly ripe orange just off the tree (and proceeded to get juice all over your fingers!). I also tasted my very first kumquat. They are as fun to eat as they are to say. I think I may have forever ruined my taste for store bought oranges...

For the first recipe, I wanted to use up the blood oranges*. We only had a few, but they were beyond ripe, so I wanted to use them quickly before they went the way of the compost. A quick browse of the internets and I found a recipe for a Flaky Blood Orange Tart from Food and Wine. You know I love anything in a flaky crust, and the hubs likes anything resembling a cobbler, so this seemed like a great use for the blood oranges. Plus, it wasn't fancy or complicated so I could easily assemble it and get this - stash it in the freezer - to be made later. Of course, it didn't really last that long (really only the minimum 4 hours...) but it's nice to find a recipe that you can make ahead and whip up quickly when needed. A half recipe made about four to six servings.


While not fancy, this dessert is pretty in it's own right, with the vibrant colors of the oranges shining through like a little stained glass window. It smells amazing, but most importantly, tastes great. It does have a cobbler like flavor with the buttery crust, tart oranges and the addictive sweetness of liquid crack salted caramel syrup. Definitely make the syrup.


I tried to get photos of this before we ate it, but I wasn't so lucky, which is why I've taken strategically partial tart pics. That other half of the plate...it's empty. And then when I wasn't looking the hubs snacked on even more! At least I know he liked it.

Since we now have so much citrus, I'm sure I will be posting more recipes shortly. Leave a note in the comments if you have any favorite citrus recipes that I should try!

*This was also my very first blood orange!


Club Baked: Mississippi Mud Pie (A)

aka Coffee Ice Cream Tart

When asked what I would like to host for Club: Baked, I sat down with the hubs and the Baked Explorations cookbook and discussed the possibilities. I was asked to pick something from the pies and tarts section, which for me was just perfect. I prefer pies, with their ease of preparation, their forgiving nature, and of course, the lack of scientific, precise measuring that make so many cake recipes downright frustrating for me. And this recipe had no flour which, for someone who has a flour bomb go off regularly while baking, also includes less clean up. Right around my hosting time, we were having a pretty over the top dinner, so I wanted something just a little special. With some hemming and hawing (debating between this and the Whiskey Pear Tart, apparently we like booze in our desserts), we finally settled on the Mississippi Mud Pie (A).


Of course, after just discussing the ease of preparation of most pies, I landed with the one that has so many steps. Luckily, each step is fairly easy, a simple stirring of ingredients and a pour into the pie shell, so what looked initially like a daunting recipe turned out to be pretty easy and straight forward. Although, all the stopping and starting in between steps dragged it into a two day process for me.

I started with the making of the ice cream. The Baked guys have a recipe for Coffee Ice Cream in the cookbook, but since I didn't have any instant espresso powder, or Kahlua, I ended up adapting my almond milk ice cream recipe. I simply added just a pinch over 1 1/2 cups of whole coffee beans to the milk base after the first simmer, and continued to heat on low for about an hour, maybe two. Until it tasted like a strong latte. After scooping out the beans and discarding, I added another 1/2 cup milk and 1/2 cup cream to compensate for the of the liquid that evaporate or got tossed with the beans, stirred and voila! Coffee Ice Cream. 

After making the ice cream, I set about making the crust. After scooping mounds of icing from the center of each sandwich cookie, I was able to use the wafers to make the crust. (Was anyone able to find just the wafer part? Please tell me where you get such a thing!)\


The bourbon fudge...let me pause a moment here.  Bourbon AND Fudge. These are pretty much two of my favorite things and together and, well, let's just say that I had no dirty dishes.


Cookie Crust, check.

Bourbon Fudge, check.

Toasted Pecans and Coffee Ice Cream, check and check.

More bourbon fudge, check, check, and check.


A little freezer action and some sparkly candles, and this thing was ready for it's debut.


This pie was incredibly rich. One of those desserts where just a little sliver will fulfill your sugar/chocolate/ice cream craving. For someone who eats a Dove dark chocolate to satisfy a sugar craving, this was super sweet.  I loved the coffee ice cream. For me, that was the best part. Next time, I would add more pecans maybe even mixing them into the ice cream. They offered a texture change with their crunch and cut down on the crazy sweetness of the rest of the ingredients. I would also skip the chocolate drizzle on top simply because it was such a rich pie, I didn't feel it really needed it. Okay, probably a light chocolate drizzle for, as my husband says, "flair." (Love that guy!)

Also, grease the pan! I guess I missed this step. But I had a h*ll of a time getting out the first slice. The second was a little better, but I think a light greasing would have solved the whole mess.

I think the best thing about learning to make this pie is the sheer volume of possibilities it opened up, and to me, that's the mark of a good recipe. One that introduces you to something that you can build on. Tweaking the ice cream and fudge flavors and even the toppings and you have an almost limitless amount of ice cream pie possibilities. Graham cracker crust, caramel in place of the fudge with a vanilla ice cream topped with pecans would be a nice fall treat. Maybe served with some warmed spiced apples. Kind of a Kriss Krossed apple pie a la mode. For Christmas, peppermint chocolate fudge with candy cane ice cream. Plain fudge and caramel ice cream topped with nuts for a toffee flavored ice cream pie...

Thanks everyone for baking along! Next up: Speculaas by Fiona: Ms Fifikins

Mississippi Mud Pie (A)
Yield: One 9" Pie

Ingredients

For the Chocolate Cookie Crust
30 chocolate wafer cookies, about 6 oz
1 tbsp granulated sugar
6 tbsp (3/4 stick) unsalted butter, melted


For the Filling
4 oz good quality dark chocolate (60-72%)
1/4 c plus 1 tbsp heavy cream
3 tbsp unsalted butter
2 tbsp light corn syrup
1 c confections' sugar, sifted
1 tbsp Kentucky bourbon
1 pint good quality coffee ice cream
1/2 c toasted pecans, coarsely chopped


For the Bourbon Fudge Topping
2 tbsp heavy cream
2 tbsp unsalted butter
1 tbsp light corn syrup
3 oz good quality chocolate (60-72%)
1 tsp Kentucky bourbon


Make the Chocolate Cookie Crust
In a food processor, pulverize the wafer cookies into a very fine crumb. You should have about 1 1/2 cups. Place the crumbs into a bowl, add the sugar and stir until combined. 


Pour the melted butter over the crumbs and mix well. Transfer the crumb mixture to a 9-inch pie plate and press it into the bottom and up the sides. Use the back of a large spoon to get an even crust. Set the crust aside in the refrigerator. 


Make the Filling
Place the chocolate in a large heatproof bowl. In a medium saucepan, bring the cream, butter and corn syrup to a simmer. Remove the mixture from the heat, pour it over the chocolate, and let sit for 1 minute. Then whisk the chocolate mixture until it is completely smooth. Whisk in the confectioners' sugar and bourbon.


Spread the fudge evenly over the bottom of the pie crust, cover it and refrigerate for 2 hours.


Soften the coffee ice cream by placing the container in the microwave for 10 seconds on high. Put it into a large bowl and use a rubber spatula to beat it until it is slightly malleable. Spread the ice cream over the chilled fudge filling, sprinkle it with pecans, gently pressing them into the ice cream, and freeze the pie for about 1 1/2 hours, or until the ice cream is firm.


Make the Bourbon Fudge Topping
In a small saucepan over low heat, heat the cream, butter and corn syrup together until the mixture beings to simmer. Remove the pan from the heat and add the chocolate. Whisk until the fudge is smooth - if you still have a few stray chocolate chunks, reheat the mixture over very low heat until they are completely melted. Stir in the bourbon. 


Beat the fudge topping until it reaches room temperature, and pour it over the ice cream and pecan layer in a zigzag pattern. Freeze the Mississippi Mud Pie until it is set, about 20 minutes. To serve the pie, cut it with a warmed sharp knife. 


The pie will keep in the freezer, tightly covered, for up to 4 days.

Vegetable Meatloaf with Balsamic Glaze

Looking at our freezer full of meat and our refrigerator full of veggies, I wondered, what on earth could use up a lot of these items pretty quickly. My mind settled on this meatloaf. It's a recipe that we've used often, as it's delicious and freezes well for later leftovers. It takes some effort to prepare, but the end result is well worth it. It's also a great, tasty way to get some veggies into a very meat-centric dish.


The original recipe found on Food Network is fantastic in it's own right, but feel free to experiment with other veggie and meat combinations. We've added jalapeno and poblano peppers instead of bell and it's turned out lovely. I always add an onion (white or yellow). We've also substituted lamb in place of the beef with no ill effects. When making this dish for gluten free folks, I've substituted Corn Flake crumbs for breadcrumbs.

This time, in particular, since we were using up whatever was in the fridge, we used a veggie combination of yellow bell pepper, two small zucchini, one white onion and a jalapeno pepper. We used  a combination of lamb, veal, pork and beef for a total of 5 lbs. of meat (I told you we were using up everything!).

The recipe below is our base recipe. It's a slight adaptation from the original, but as I've shown, it can be further modified each time to work with what you have on hand.

Vegetable Meatloaf
adapted from this Food Network recipe


Ingredients:
3 tablespoons olive oil
1 large zucchini, finely diced
1 red bell pepper, finely diced
1 yellow pepper, finely diced
1 sweet onion, finely diced
5 cloves garlic, smashed to a paste with coarse salt
1/2 teaspoon red pepper flakes, divided
Salt and freshly ground black pepper
2 large eggs, lightly beaten
1 tablespoon finely chopped fresh thyme leaves
1/4 cup chopped fresh parsley leaves, plus more for garnish
1/2 pound ground pork
1/2 pound ground veal
1 pound ground beef chuck
1 cup panko (Japanese) bread crumbs
1/2 cup freshly grated Romano or Parmesan
1 cup ketchup, divided
1/4 cup plus 2 tablespoons balsamic vinegar


Preheat the oven to 425 F.


In a large saute pan or dutch oven, heat the olive oil over medium-high heat. Add the onions and heat for about 2-3 minutes. Add in the zucchini, peppers, garlic paste, half the red pepper flakes, salt and pepper and cook for another 3-5 minutes, until the veggies are just soft. I usually take them off the heat once the onions start to appear translucent. Remove from the pan into a large bowl to cool more quickly.

In a large bowl, combine the eggs, herbs, meat, bread crumbs and cheese. Add to that 1/2 c. of the ketchup and 2 tbsp vinegar as well as the cooled vegetables. Mix (with your hands) until everything is just combined. Don't over mix as you will end up with a tougher meatloaf.
On a large baking sheet (mine is non-stick, use parchment if yours is not), mold the meatloaf . Place in the oven for 30 minutes. While cooking, beat together the remaining ketchup, balsamic and red pepper flakes. After 30 minutes, brush the mixture onto the meat liberally and rotate the pan in the oven. We like to put ours in an old Ketchup container so it squeezes onto the loaf and the remainder can be used again since it doesn't have any uncooked meat juices in it. Cook for another 30-45 minutes or until the meat has reached an internal temperature of 165 F.


Once cooked, remove from the oven, cover and allow to rest before slicing. Top with a little extra ketchup-balsamic sauce for extra tang.

*Extra slices of meatloaf can be frozen for re-heating later as a great leftover solution. 

** My dad, Meatloaf King, actually said that he really liked this meatloaf when I made it for him. He said to keep it hush-hush though because there was no way he was chopping all those veggies. Use a food processor for extra speedy assembly.

Mushroom Soup

This mushroom soup is to die for. We originally began to make it to add to our Saucy Chicken recipe, but it is just as delicious on it's own.


Mushroom Soup
original recipe from Food Network

6 tbsp unsalted butter
1 c. chopped yellow onions
1/2 c. chopped celery
1/4 tsp. cayenne
1 1/2 tsp. minced garlic
6 oz. shiitake mushrooms, wiped clean, stems trimmed, and sliced
6 oz. oyster mushrooms, wiped clean, stems trimmed, and sliced
8 oz. cremini or button mushrooms, wiped clean, stems trimmed, and sliced
2 tsp. fresh thyme leaves
1 tsp. salt
1/2 tsp. freshly ground black pepper
1/3 c. brandy
6 c. chicken stock 
1 1/2 c. heavy cream


In a large pot, melt the butter over medium heat. Add the onions, celery, and cayenne and cook for about 5 minutes, until tender. Add in the garlic and cook until fragrant, about 30 seconds. Toss in the mushrooms, thyme, salt and pepper and cook until the mushrooms become soft and start to brown, approximately 7 minutes. Pour in the brandy and bring the entire mixture to a boil for about 2 minutes, or until the alcohol forms a glaze. Pour in the stock, return the mixture to a boil and then simmer over medium-low heat for 15 minutes. Stir occasionally.


Remove from the heat and puree with a hand-held immersion blender. Add the cream, return to a simmer, and cook for 5 minutes. Adjust seasonings.

We usually freeze the soup in 2 c. Ziploc containers for Saucy Chicken or to eat with a baguette and side salad as a light meal on it's own.

Spinach Gnocchi

When I was younger, I actually would go over to the neighbors house every Friday since that was their gnocchi day and gnocchi just was not something we ate at home. I thought it was incredibly exotic (my mom ate stuff like chicken mole, gorditas, and enchiladas - how boring). I'm sure they were store bought, because I seem to remember them being a bit chewy, topped with a can of red sauce, but at the age of eight, with my discerning palette, I thought they were totally the best. thing. ever.


Fast forward about 10 years and I tried making some pre-made gnocchi remembering my love of it as a child. Sadly, the stuff from the grocery store was just not that good. Now, almost 20 years later, I decided to try my hand at making them from scratch. It's not a complicated process and I'm sure it would get speedier the more that I work at it. As it was, it took me about an hour and a half, but I'll be reaping the rewards for some time (we froze seven dinners worth and ate one that night), so I'm okay with it.

Cooked up in salted boiling water until they floated with an optional sizzle in a skillet, topped with either butter and grated cheese or your favorite sauce and you've got a flavorful, light and airy dough ball dinner. And as much as I love love love potato gnocchi, these spinach gnocchi can alleviate some of the guilt that you might get from eating a meal consisting solely of carbs. But (in my opinion, of course) I think that occasionally indulging in something delicious and not insanely healthful is nothing you should feel guilty over. But if you are tinged with guilt, remember, you're eating vegetables too!
Spinach Gnocchi

Ingredients:
Spinach, 12 oz
1 3/4 lb potatoes
1 3/4 c. all purpose flour
2 egg yolks, lightly beaten

Begin by cooking your potatoes, until soft, in salted boiling water. This should take about 20-25 minutes, depending on the size of your potatoes. While the potatoes are cooking, wilt the spinach in a large saute pan or pot. Once all the leaves have turned a darker green color and have completely wilted, remove from the heat. Once cooled, squeeze any remaining water from the leaves and chop fine. 


Once the potatoes are done, drain them and then mash. I used a potato ricer to get a finer texture, but you could also use a regular masher or fork. Add the flour, egg yolks and spinach to the potato mixture and season with salt. Then get in there and get dirty. With some additional flour standing by, begin to knead the mixture until it is incorporated together. It will still be a bit sticky, so keep whatever surface you are working on well floured. 


Break the large dough ball into smaller, easy to handle sizes to begin rolling into logs. Roll the logs into 2/3" diameter and then cut out the individual gnocchi (with a sharp knife!) to about 1/2 in length. Flour the gnocchi so that they don't stick together or to the board while you work on the rest. Continue until all the dough has been used up. 
To cook the fresh gnocchi, boil some salted water on the stove. Give it a stir to begin a whirlpool effect right before you drop them in - this will prevent them from sticking together and from immediately sinking (and sticking) to the bottom. Once they float you can remove them - they are done cooking. 
At this point, you can top them with you sauce and enjoy. Or you can add some olive oil to a skillet heated over medium heat and add the gnocchi to that pan, giving each a nice crispy outside while preserving that puffy, pillow-like ball of dough on the inside. Top with sauce (this shallot cream sauce, for example) or butter and enjoy!


To freeze the gnocchi for later use (which will taste way better than the frozen store bought, in my opinion), place the floured gnocchi on a large metal sheet pan (covered with parchment paper) and freeze. Once individually frozen, the gnocchi can be placed in bags or containers to be enjoyed later. We put 30 gnocchi in each container to yield 2 adult servings. Boil directly from frozen.

Proscuitto, Carmelized Onion & Cheese Pyrohi

This is what happens when you have leftover procuitto, a craving for pyrohi and a husband that will indulge your creative cooking side.


Prosciutto, Caramelized Onion & Cheese Pyrohi
(yield: approx. 3 to 3 1/2 doz)


Dough

Ingredients:
1 egg
2 c. flour
1/2 c. water
1 tbsp. butter
1 tsp. salt

Mix together and knead for about 5 minutes. You can also let your mixer and dough hook do the work. Let dough rest on a floured board for about 1/2 hour. 

Filling:


Ingredients:
5-6 potatoes (I had red on hand), peeled and cubed
1/2 c. grated mild, creamy sheep or goat's milk cheese (I used a mild goat's cheddar)
2 yellow onions, caramelized in olive oil*
6 pieces prosciutto, cooked until crispy and broken into bits
salt and pepper

Cook the potatoes until tender. Run through a ricer (or mash) until smooth. Add salt and pepper to taste (no milk!). Mix in the caramelized onions and prosciutto. Also add the cheese and mix until combined and melted.

Making and Filling Pyrohi

Roll out dough about 1/8" thick and cut in 3" rounds (use a donut cutter). Put 1 tbsp. potatoes on a round and pinch them shut. Use a little flour on your fingers if the dough is sticky or if it doesn't seal right away. No need to put water on the edges before sealing. I worked in batches so that the dough wouldn't dry out.

Put completed pyrohi on a lightly floured surface until ready to cook. If not cooking for a while, cover the pyrohi with a dish towel until ready to cook so that they don't dry out.

Cook in a large pot of boiling water, stirring gently until pyrohi come to the top of the water and then let simmer for 3 or 4 minutes; drain, serve with sauteed olive oil and onions.

The other option is to fry them. I caramelized some yellow onions in some olive oil and once they were done, added a bit more olive oil and sauteed the pyrohi until they were cooked through.

*To caramelize the onions, heat olive oil in a large dutch oven over low heat. Add in thinly sliced half moons of onion and stir, adding just a touch of salt. Continue to cook over low heat until the onion have turned an amber color. This must be done over low heat to ensure caramelization. If done over higher heat, the onions will burn. Be patient. It's worth it.
Pyrohi can be frozen individually on a cookie sheet and then combined (once frozen) into storage containers/bags.

Spaghetti Squash

Spaghetti squash is one of those ingredients that I like to use (because ya'll know how we love pasta in this house!). It gives us a little more veggies and just switches things up on occasion. I've tried this squash with plenty of sauces, but my absolute favorite is this recipe.


Baked Spaghetti Squash with Vodka Sauce

Ingredients:
1 small spaghetti squash
1 recipe Vodka Sauce (recipe below)
1 lemon, cut into wedges (optional)
1/2 lb Italian turkey sausage, cooked into crumbles (optional)
Pecorino Romano cheese, grated


To bake the squash, you'll need to cut it in half lengthwise. Please only attempt to do this with a sharp knife as the squash is rather hard to cut and I don't want you all to get maimed.


Once cut, scrape out the seeds and the stringy portions from the center of the squash. You can reserve the seeds and bake them as you would pumpkin seeds (or toss them, your choice). Rub some oil onto a baking sheet and place the squash cut side down onto the baking sheet. Bake in a 350 F oven for about 45 minutes, or until the squash is tender and can be punctured easily with a fork or butter knife.


Remove the squash from the oven and allow to cool slightly before handling. When it is cool enough to touch (you can also use an oven mitt or oven-safe glove like I do because I am not quite so patient at this point), scrape the insides of the squash with a fork and remove the pasta-like strands. Place the strands of squash in a large bowl or smaller serving-size bowls and top with the vodka sauce. I like to serve with a bit of grated pecorino romano, chiffonade basil and a wedge of lemon which I find breaks up all the sweet flavors of the sauce and squash. Another option is to top with sausage crumbles; the heat from the sausage also compliments the sweetness of the vodka sauce & squash.

Vodka Sauce
adapted slightly from this Food Network recipe


Ingredients:
1/2 c. extra-virgin olive oil
1 small onion, chopped fine
2 cloves garlic, minced
1 stalk celery, chopped fine
1 carrot, chopped fine
2 (32-ounce) cans crushed tomatoes
2 dried bay leaves
salt and freshly ground black pepper
1 1/2 c. vodka
3/4 c. heavy cream, at room temperature
3/4 c. grated Pecorino Romano 


In a large dutch oven, heat the olive oil over medium heat. Add the onion and garlic and saute until tender, about 2-3 minutes. Add the celery and carrot and continue to cook until all the vegetables are soft, about 5 minutes. Season with salt and pepper. Add the cans of tomatoes and bay leaves and reduce the heat to low. Cover and simmer for 1 hour. Remove the bay leaf and adjust seasonings.


Stir in the vodka and reduce by a quarter, stirring often. Once reduced, stir in the cream and then the cheese. Stir to combine. Once heated through, you can serve or allow to cool to room temperature before freezing. The sauce can be frozen for up to 6 months.

Kitchen Lifesaver: Easy Morning Smoothies

Nick loves smoothies in the morning. And I love getting some fruits into the meat eater. To make mornings go smoother (haha, get it?), I have a system to get this breakfast beverage made in a jiffy.


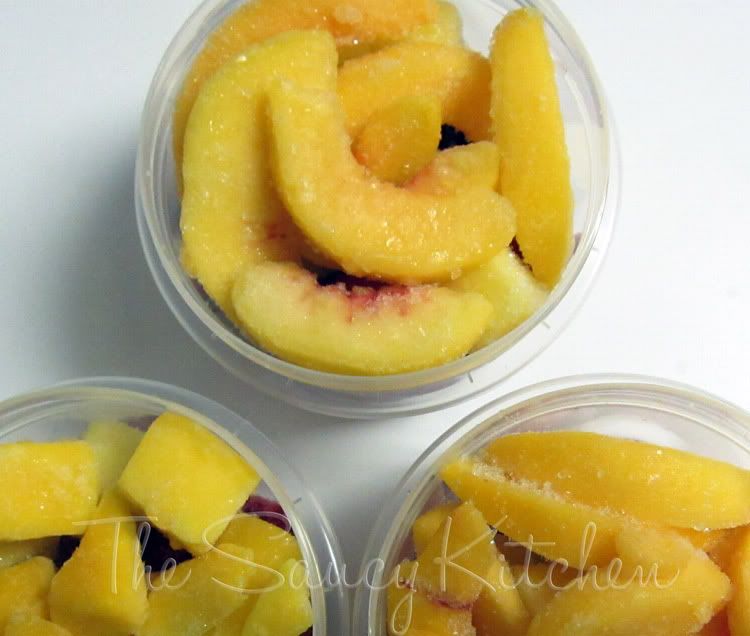
First, I start with store bought frozen fruits. Whatever you like or is on sale at that particular time. Pineapples, mangoes, peaches, strawberries, blueberries, raspberries and cherries - anything goes. Instead of storing each bag in the freezer separately (taking up a lot of awkward freezer real estate), I make easy two cup mixes on the weekend. It's the perfect serving size for two smoothies and allows you to mix and match the fruits so that your smoothie can be a different flavor each day of the week. It also allows for faster assembly in the am. I keep our fruit cups nested on the door so it's an easy grab when I need one.


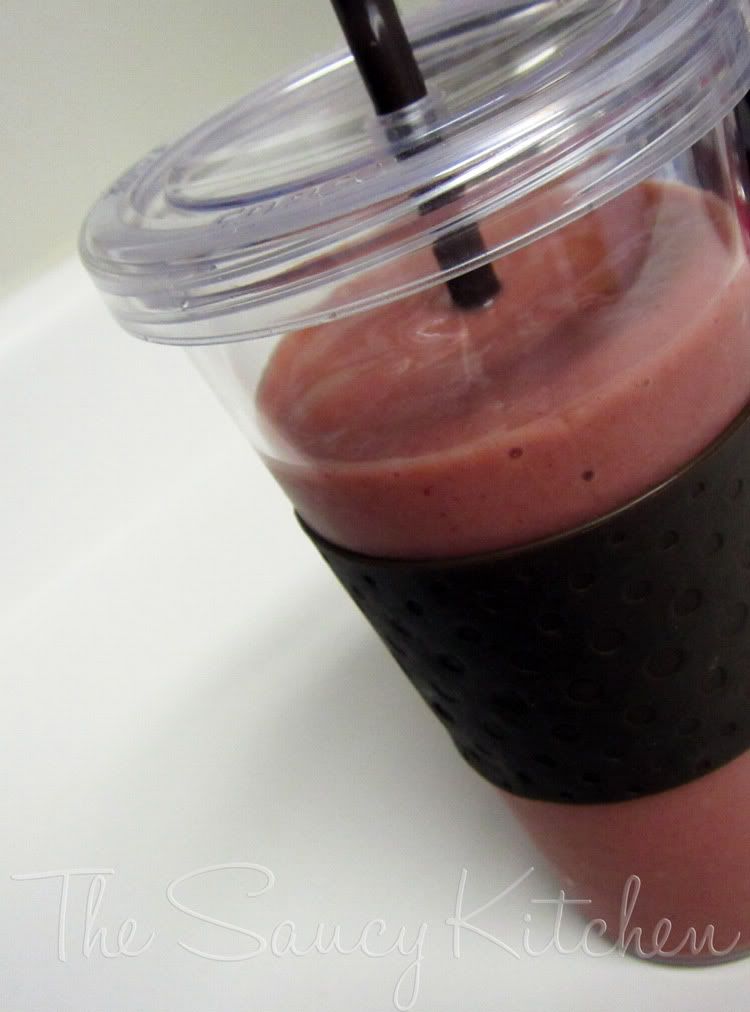
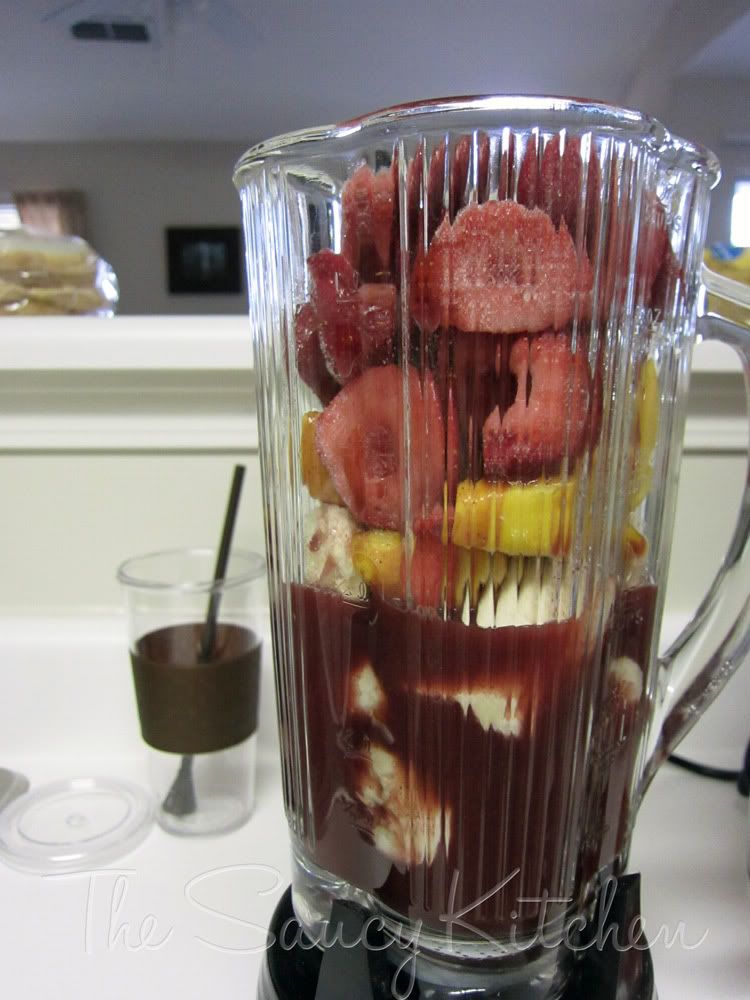
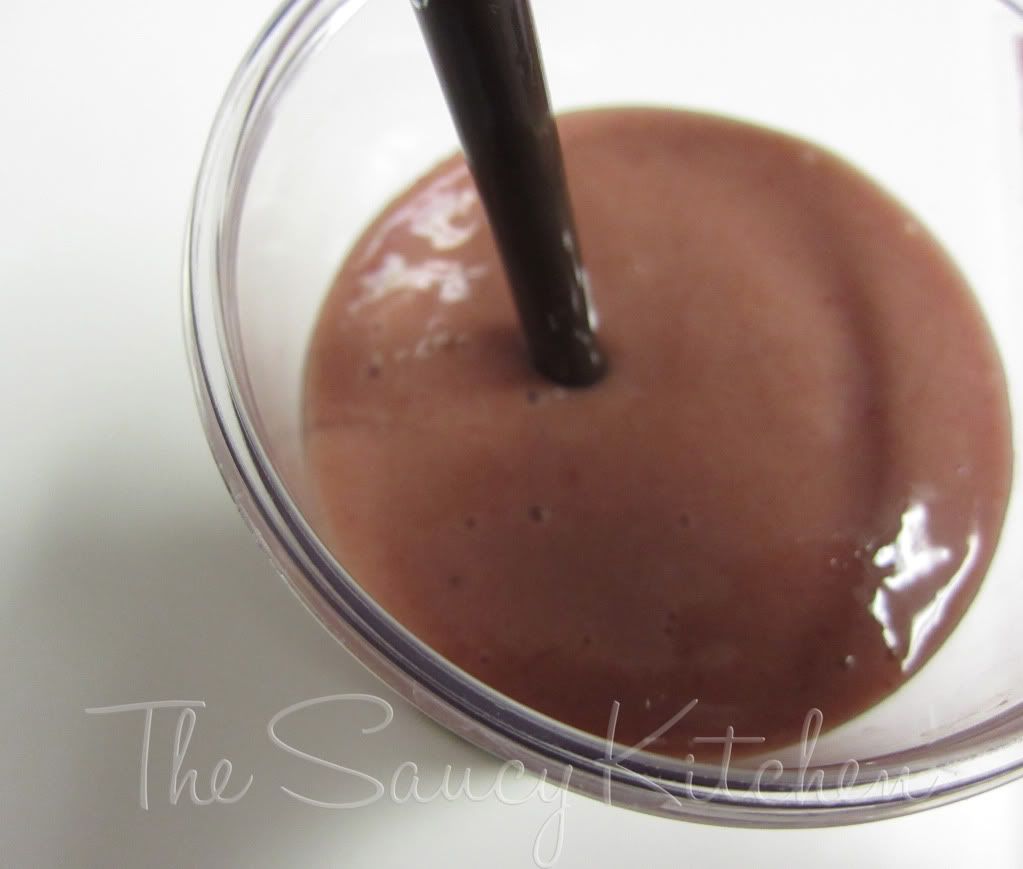
I start by throwing two bananas (peeled) into a blender. I then throw the frozen fruit from the serving cup on the top of the banana. I top this with Acai juice until it is about half way up the side of the blender, or just about covering the bananas. Put the lid on and blend on low for about 30 seconds and then bumping up to high until everything is smooth.


Pour into glasses or travel cups (we picked these up at BBB) and you're all set for a quick and easy breakfast.