Showing posts with label breakfast. Show all posts

Club Baked: Baked Cheese Grits

This latest Club Baked pick had me skeptical at first. First, because I've never in my life had grits, and the only grits I've ever seen were sketchy looking puddles of white mush at southern diners. Looked more like something that you would feed someone with no teeth or taste buds than something I would want to consume.

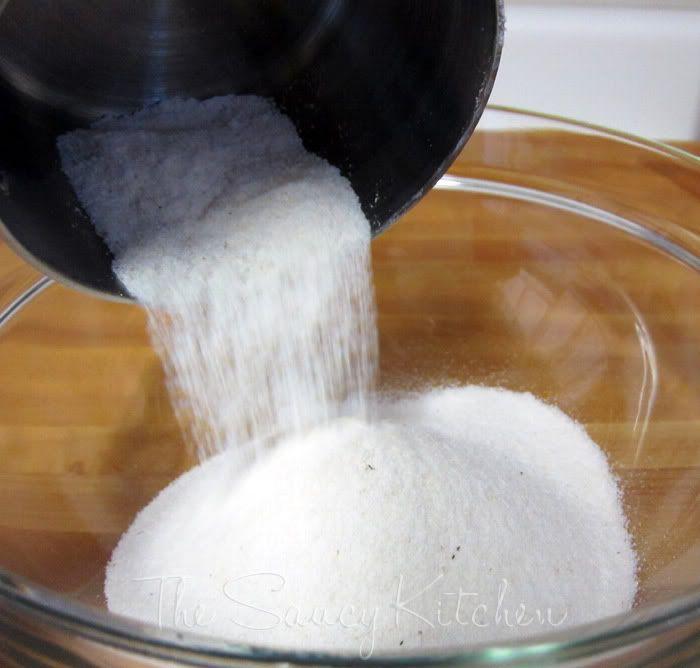
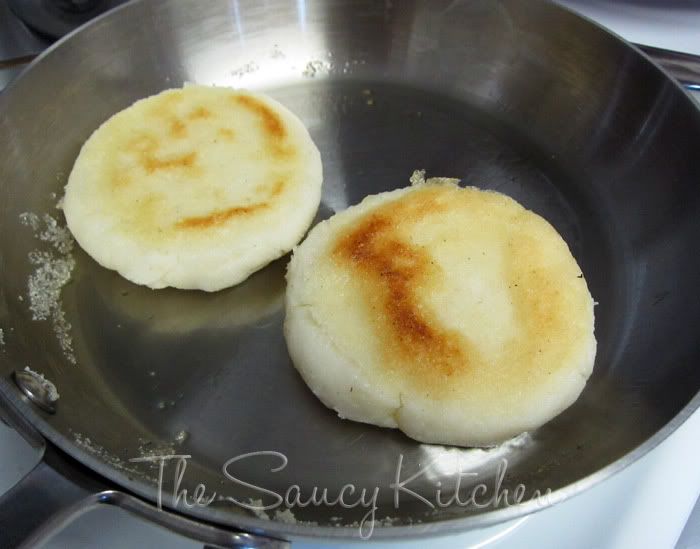
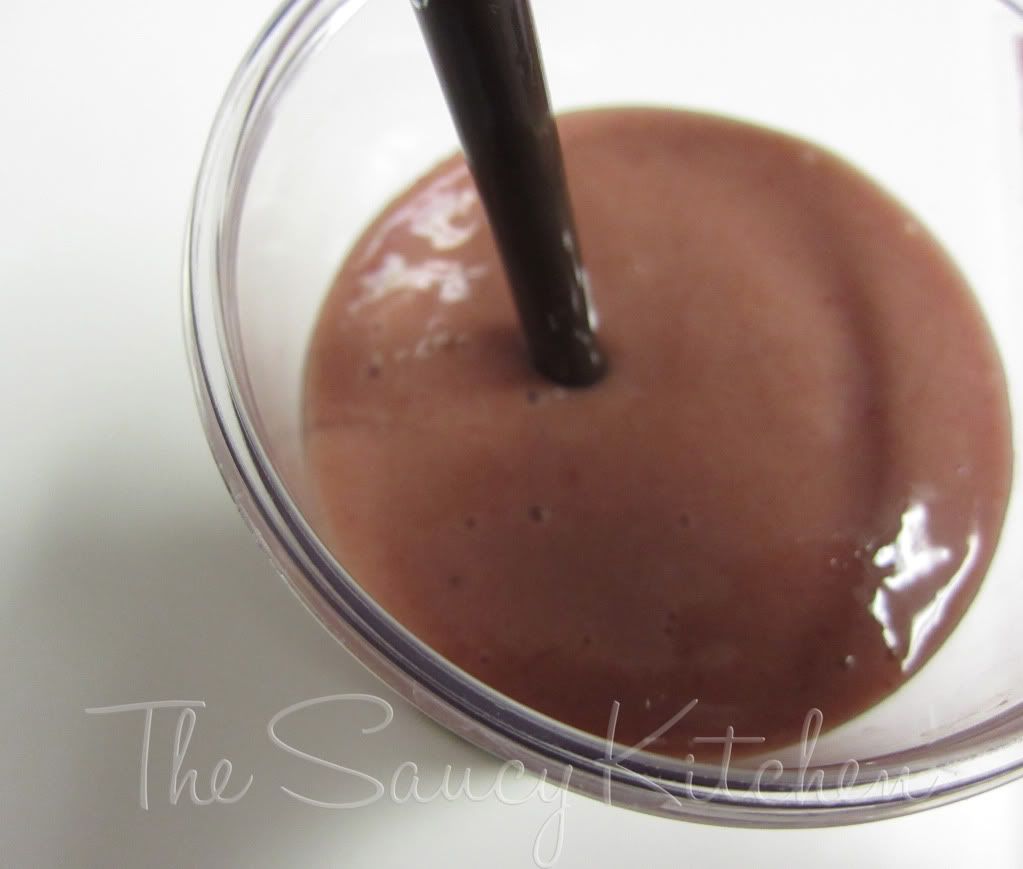
Also, it seemed like a lot of work. Constant stirring - for 20+ minutes. All I can say is that the thoughts running through my head as I stirred and stirred and stirred some more were "These better be good" and "This better be worth all of this." (I can get a bit cranky if I'm hungry)


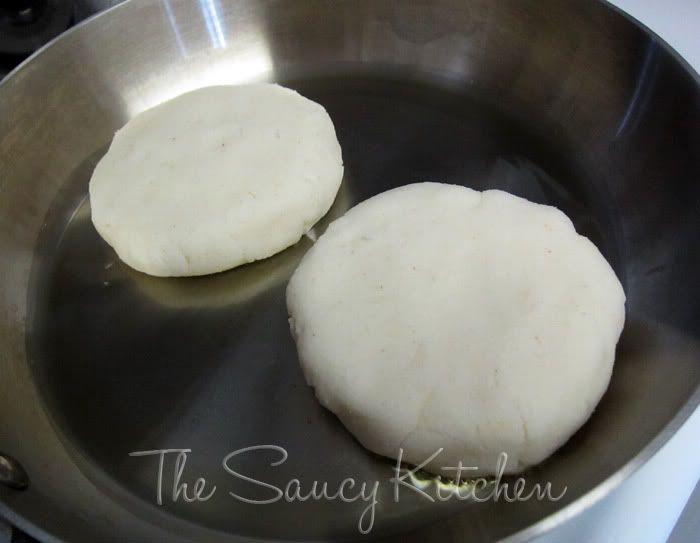
Luckily, after all that stirring, and grating and stirring some more I ended up with something that is actually pretty delicious. I get it now, southern peeps, grits are pretty delicious. With all the fat in there though, they better be. Although I'm still skeptical of those white piles of mush at the diner.

I ended up substituting goat's cheddar and another soft goat's cheese for the monterrey jack and sharp cheddar, but I don't think it affected the end result much. I did end up making half a recipe, which I think will still end up being 4 servings for us.


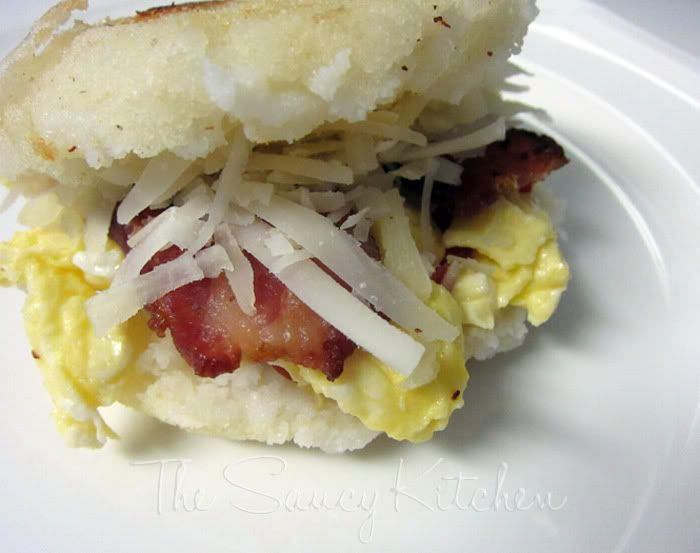
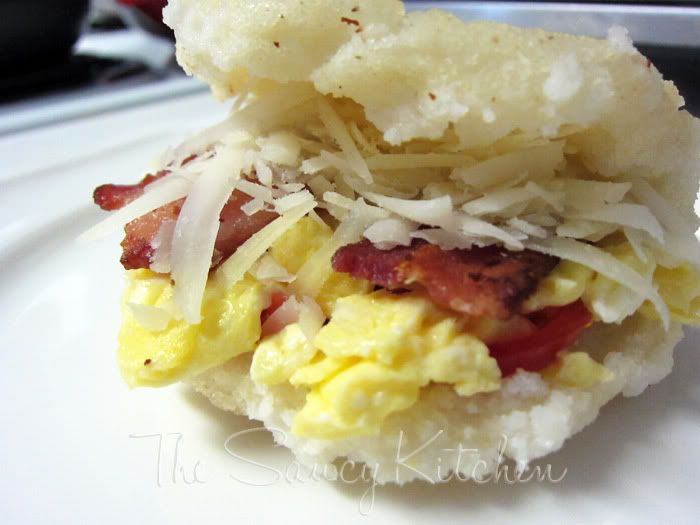
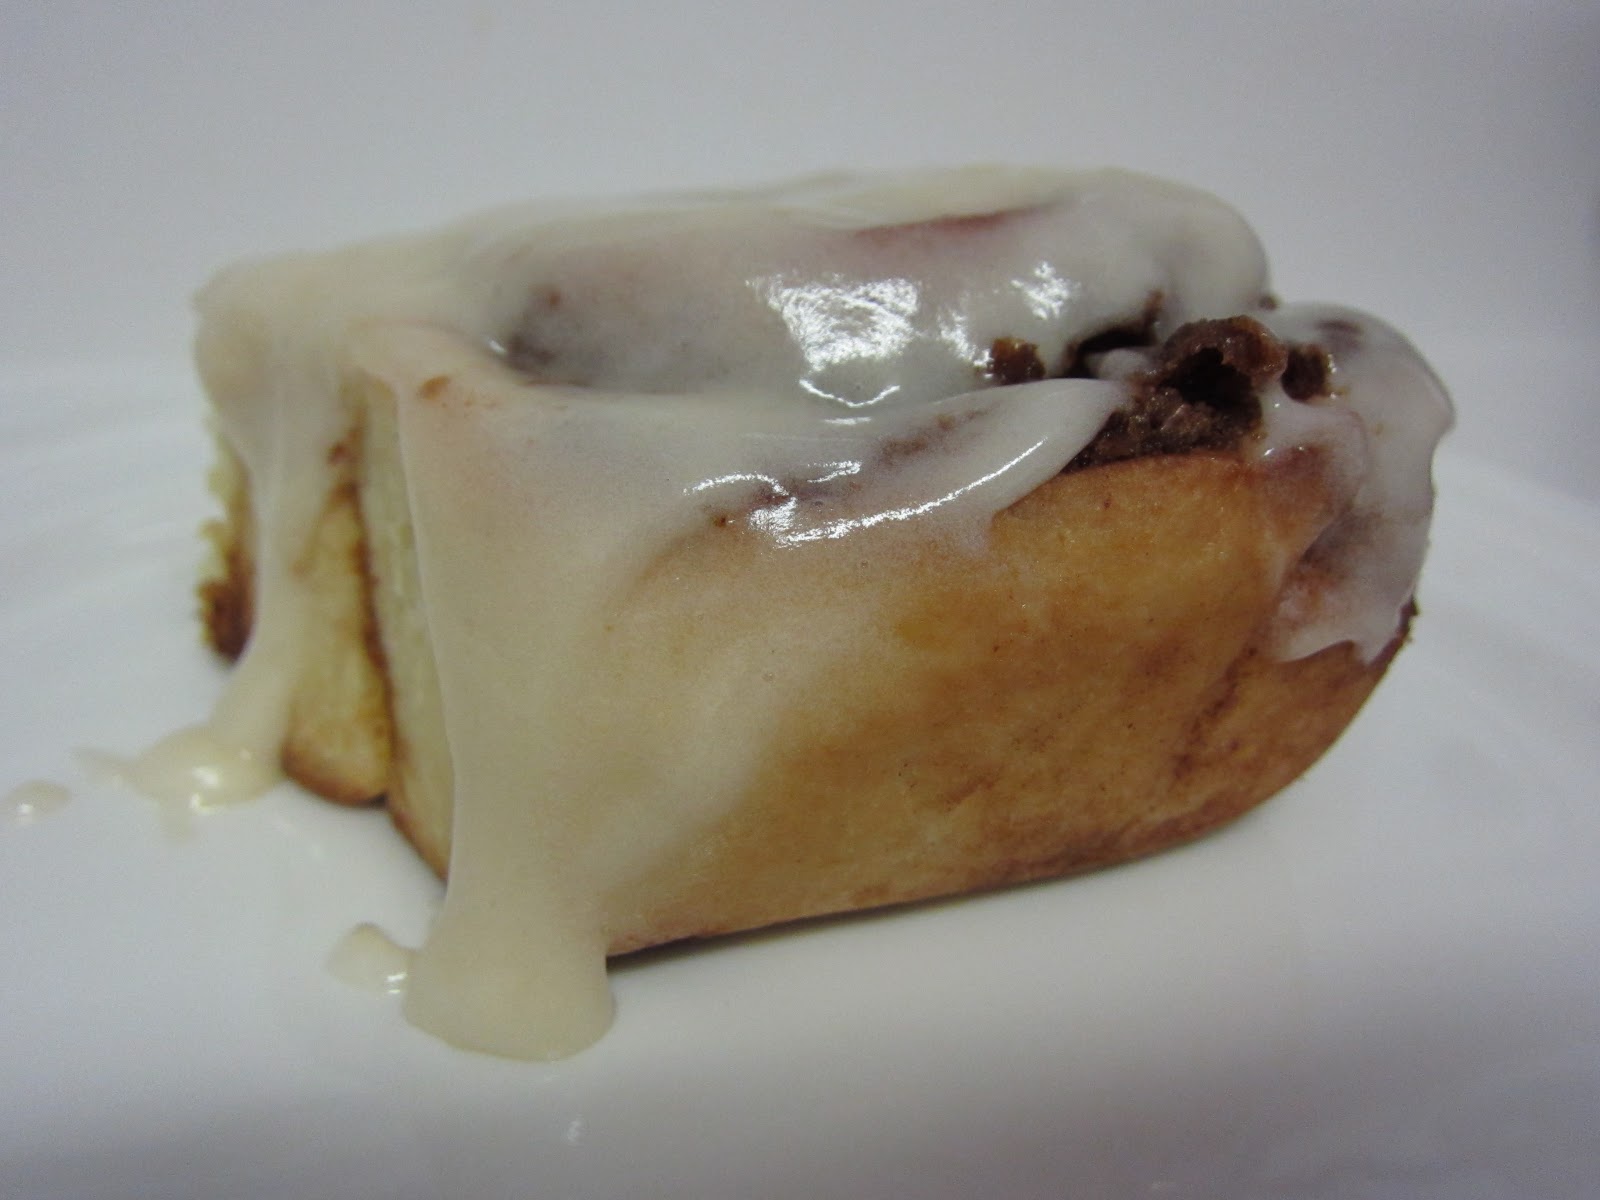
These grits are creamy, cheesy with just a bit of bite from the stone ground grits. I think it's more of a weekend breakfast than a weekday, but I could just as easily see it as a dinner side dish in place of mashed potatoes and the like. I'm pretty glad I sucked up my skepticism for this recipe and gave it a try. Find the recipe over at Lisa's blog and the other baker's results at the Club: Baked blog.


Club Baked: Nutella Scones


My mom has always tried to instill healthy eating habits in me. We had rules in our house. One sweet thing a day, no cereal with more than 11g of sugar per serving. I was the only kid who read nutrition labels in the second grade. Grocery shopping included a lot of veggies and fresh foods. I got excited when I was able to pick out a new fruit to try because I knew I wouldn't get away with sneaking Bubbalicious into the cart. Eyes in the back of her head, she said. She cooked our meals, which I never thought was abnormal until I went away to school.

Fast forward to college: Shopping with my roommate senior year, she mentioned that she wanted meatballs. So, I steered our cart towards the meat section. She looked at me like I was crazy and asked, "Where are you going?" I told her to the meat section, so she could get meat for meatballs. She then introduced me to the frozen foods section, two whole aisles of food that is already made. And then pointed out the meatballs. In a bag. Ready to be eaten. (Did you also know they made french toast like that? Sheesh, the education I got that day.)

So, I immediately text my mother (who I think might still have this text message): "You did not prepare me properly for the world. Did you know that they have meatballs already made in the freezer section? They make lots of things already made. How could you not tell me this?" I'm paraphrasing, of course, but that was the gist of it.

Her response of course, was that I could make my own meatballs, freeze them individually on parchment paper and then bag them up to have my own ready made meatballs in the freezer. Totally missing the point that you could buy them that way.

Anyways, that whole meatball intro was to help you understand my culinary background and it's lack of processed foods. And the fact that I've never in my life had Nutella. 


Deprived. I know.


Anyhow, now that I am all old and grown, I have this pesky milk allergy and I can't have Nutella. (Thanks Mom, seriously, all those years that I missed out.) So, for the Club Baked Nutella Scones recipe, I made the "Hazelnut Spread" recipe that was found in the cookbook. And my loving husband said that it does not taste like Nutella. Great...


Despite that fact, I continued on and made the scones. I actually love scones. They are easy to put together, quick to make, and can have almost any flavor, sweet or savory. These are no exception in ease of preparation and the flavor is nice. A chocolate scone with a layer of Nutella (or, in my case, hazelnut spread) running through, topped with another drizzle of Nutella and crushed, toasted hazelnuts.


My only complaint: These are dry. I get that scones are dry. But I guess I got spoiled with the scones recipe from the Sweet Melissa Baking Book, my preferred scone recipe that makes a lovely, as moist as a scone can be, scone.

All in all, these weren't bad. And I'm glad I got to try sort of, almost, but not quite Nutella.

This recipe was hosted by Lorraine, so go over and check out her blog for the recipe.  Check out the Baked site for the other baker's takes on this one!

**We were recently at a party with the hub's co-workers and their families. One of the other girls said something about wanting almond butter, and did I know anywhere to get it, to which I replied "Just make it." Not realizing that this was weird until the hubs called me out on it. Outcast for life. Thanks, Mom.

Club Baked: Time to Make the Donuts!

This recipe was hosted by Gloria, The Ginger Snap Girl, so you can find the recipe on her blog. Also check out the other member's results from this recipe at Club: Baked.  


Do you have any idea how often I've heard that phrase? For most of high school and all of college, I worked at Dunkin' Donuts. Every day that I went to work, my dad would say, in a sing-song-y voice, "Time to make the donuts!" Needless to say, I know donuts. I can decorate them, fill them, frost them, you get the picture. It was a fun job, creating new combinations in the back, an unlimited supply of caffeinated beverages, and (usually) fabulous customers. (And too you not so fab ones - I'd be careful about being mean and cranky to the person that supplies your morning pick me up - Do you want decaf?).


I have never made donuts from scratch though, so I was thrilled when Gloria picked the Farm Stand Buttermilk Donuts for the second recipe of Club: Baked. When I got the book it was absolutely one that I wanted to try. Only problem? Buttermilk.


Easily solvable problem though. For this recipe, I substituted buttermilk for a mixture of 3/4 cup goat's milk and 1 tablespoon of lemon juice. I let that sit and mingle while I drained the sheep's milk yogurt that I used as a substitute for sour cream  (more details on how to do that over here).


To get my itty bitty donut hole centers, I used a metal frosting tip to cut out small holes. It worked out, although they were a bit too small at 3/4". But I thought it was good improv since I don't have a 1" biscuit cutter.  

disregard the semi-phallic shape being formed by the frying donuts - i didn't notice until editing!
This recipe was fun to make and very tasty to eat! My friend and fellow sprinkle lover, Patty,  and I made up a full recipe. Luckily, she took several with her when she left. Which was good because after using a 2 1/2" biscuit cutter for the outer edge of the donuts, I ended up with far more donuts than I could eat (about 30!). I liked their small size - it was perfect for sampling all the flavors without feeling stuffed, but it did make far too many! Next time I will certainly make a half recipe as I suspect they are best fresh.


As for the toppings, I made the chocolate frosting & cinnamon sugar as the recipe suggests. For the donut holes, I actually tossed them in some powdered sugar. I would say the powdered sugar topping was actually my favorite, followed in close second by the chocolate (with rainbow sprinkles of course!).


The donut itself was absolutely yummy. It was cakey, moist, and had just the right amount of spice. The nutmeg and cinnamon really took this donut over the top. They weren't overly sweet, either, which is sometimes a problem with donuts. The dark chocolate frosting was much more suited to this particular donut than the sweeter traditional chocolate frosting.

All photos in this post were edited with the PW Vintage Photoshop Action.

Arepas!

Arepas!


It even is fun to say! Anyways, I was introduced to this great breakfast idea by Nick's old roommate. He and his family are originally from Venezuela and this was a common breakfast for them. I think of it as a South American English muffin sandwich. They were cool enough to have an arepa maker (like a waffle maker, but for arepas). We used our hands.

The hardest part is actually finding the flour. It's a white corn meal. Here's the stuff we found in our grocery store to give you an idea of what to look for if you want to try these.


They are so yummy and can be modified to include whatever fillings you have on hand, bacon and eggs, ham and cheese, avocado, tomato, etc.

Arepas

Ingredients:
2 c. Masarepa
1 tsp. salt
3 c. warm water
olive oil
fillings of your choice

Preheat an oven to 350 F. 


In a mixing bowl, combine the flour, water and salt together with your hands until it is combined. Let it stand for 5 minutes.

Shape the dough into patties about 4 inches wide and 1/2 inch thick.


In a lightly oiled skillet over medium heat, place the formed patties onto the pan. Don't try and move them once they are on the skillet. Allow them to brown on one side and then, when they are brown and no longer sticking to the bottom of the pan, flip them to brown the other side.

Place the arepas on a baking sheet and into the oven for about 20 minutes (or until they sound hollow).


Slice the arepas about halfway through and take out some of the dough if you want (it gives more space for filling). Add in your fillings, really pushing them in so it fills the whole inside of the arepas. Enjoy!

Kitchen Lifesaver: Easy Morning Smoothies

Nick loves smoothies in the morning. And I love getting some fruits into the meat eater. To make mornings go smoother (haha, get it?), I have a system to get this breakfast beverage made in a jiffy.


First, I start with store bought frozen fruits. Whatever you like or is on sale at that particular time. Pineapples, mangoes, peaches, strawberries, blueberries, raspberries and cherries - anything goes. Instead of storing each bag in the freezer separately (taking up a lot of awkward freezer real estate), I make easy two cup mixes on the weekend. It's the perfect serving size for two smoothies and allows you to mix and match the fruits so that your smoothie can be a different flavor each day of the week. It also allows for faster assembly in the am. I keep our fruit cups nested on the door so it's an easy grab when I need one.


I start by throwing two bananas (peeled) into a blender. I then throw the frozen fruit from the serving cup on the top of the banana. I top this with Acai juice until it is about half way up the side of the blender, or just about covering the bananas. Put the lid on and blend on low for about 30 seconds and then bumping up to high until everything is smooth.


Pour into glasses or travel cups (we picked these up at BBB) and you're all set for a quick and easy breakfast.


Cinnamon Rolls


My mom makes these cinnamon rolls and they are to die for. I miss them. So I begged and begged and begged her for the recipe and she finally shared it. So I got right to work. Because they are amazing - the crispy caramelized cinnamon sugar filling on the bottoms, the warm gooey cream cheese icing on the top....I almost didn't finish this post because they were calling me into the kitchen...


Lucky for you, I did, because they are delicious. And one of my favorite things is that they can be made ahead of time. Make them the night before, pop them in the refrigerator and you're all set for an easy and delicious breakfast the following morning. Or freeze in small batches to thaw later overnight in the refrigerator and bake for an easy weekday breakfast.
Mom's Cinnamon Buns
Ingredients:
1 c. warm milk (or cream)
2 eggs, at room temperature
1/3 c. melted butter
4 1/2 c. bread flour
1 tsp salt
1/2 c. sugar
3 1/2 tsp yeast
1 c. packed brown sugar
2 1/2 tbsp cinnamon
1/3 c. butter, softened.

Dissolve the yeast in the milk, add the sugar, salt and butter. Add the eggs and mix well and add the flour until it forms a ball. Place into a prepared (butter or oiled) bowl, cover and let rise until it doubles, about an hour.


While the dough is rising, mix the brown sugar, cinnamon and butter with a fork until it is combined into a "paste" - no pockets of butter or cinnamon.


After the dough has doubled in size, put it on a floured surface and let it rest for ten minutes. Then roll the dough to about 16x21 inch rectangle. Drop the cinnamon/brown sugar mixture in small pieces on to the dough. Make sure to coat the dough evenly with pieces of the mixture. I used an offset spatula to spread it around to the edges evenly. Starting at the long side, roll the dough. Cut the roll into 12 pieces and place rolls into a greased 9 x 12 pan*.


At this point, you can cover and let rise until double to bake (about 30 minutes). Or you can cheat and put them in the refrigerator so that you can bake them in the morning. Just take them out and let them come to room temp before you start to bake. Either way, bake them at 400 degrees for about 15-18 minutes.


While they are baking, beat:
3 ounces cream cheese
1/4 c. butter
1 1/2 c. powdered sugar
1/2 tsp vanilla
1/8 tsp salt


When rolls are warm, but not too hot, frost with the cream cheese icing.


 * We used a 9" x 9" pan and then had a couple smaller pans to place in the freezer.

This post is linked to the Sunday's at One Food Club hosted by Cocina Diary.